20-Step Checklist to Prepare Your Home for Real Estate Listing Photos
20-Step Checklist to Prepare Your Home for Real Estate Listing Photos
Just knowing how to get your home ready for real estate photos can give you a significant advantage in the selling process. When you follow this comprehensive 20-step checklist, you ensure your space looks its absolute best, making a powerful positive first impression on potential buyers. By addressing details like lighting, decluttering, and cleanliness ahead of time, you help the photographer capture your home’s most inviting features without interruption. Taking these steps not only boosts your listing’s appeal but can also impact your final sale price in a competitive market.
Key Takeaways:
- Declutter and deep clean key areas like the kitchen and bathrooms to create a spacious, inviting atmosphere that photographs well.
- Optimize lighting by replacing burned-out bulbs, turning on all lights, and opening window treatments to enhance natural and artificial light throughout the home.
- Remove personal items, unnecessary furniture, and distractions such as magnets on appliances or running electronics to help buyers envision themselves in the space.
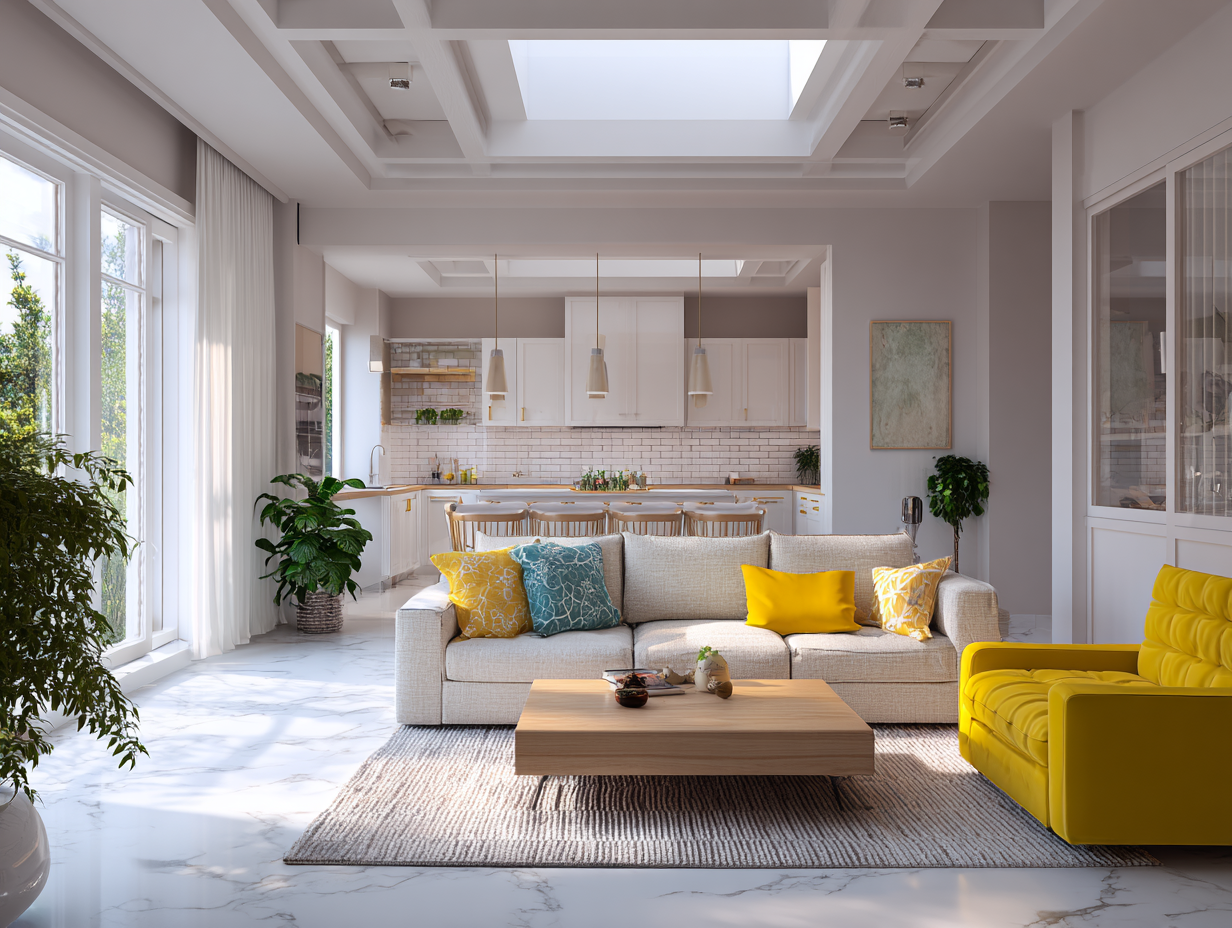
Crafting an Inviting Atmosphere
Soft lighting, subtle scents, and a few well-placed accents can transform your home into a space that feels welcoming and warm in photos. Consider adding fresh flowers or a bowl of seasonal fruit in the kitchen to create a lived-in yet polished vibe. Lightly scented candles or diffusers evoke a sense of comfort, while neutral palettes keep the environment appealing to a wide range of buyers. These small touches subtly invite buyers to imagine themselves living there, enhancing emotional connection beyond the visual appeal.
Clear & Clean Kitchen Counters & Sink
Free up your kitchen counters entirely except for one or two tasteful decorative pieces like a small vase or a bowl of fresh fruit. Cleaning every surface until it shines—especially the sink and backsplash—removes distractions and highlights the kitchen's size and functionality. Keeping small appliances and clutter off counters creates a sense of spaciousness, allowing potential buyers to focus on the room's layout and features instead of everyday mess.
Declutter and Deep Clean Bathroom Sinks, Tubs, and Showers
Store shampoos, soaps, and personal items out of sight to achieve a sleek, hotel-like look. A spotless sink, gleaming mirror, and sparkling tub or shower create a fresh atmosphere that photographs beautifully. Neatly folded towels provide just the right hint of warmth without overwhelming the space, making bathrooms feel serene and inviting rather than cramped and cluttered.
Beyond clearing counters and surfaces, scrubbing grout lines, polishing fixtures, and ensuring dry, streak-free mirrors contribute significantly to an impeccable presentation. Bathrooms often reveal signs of wear very clearly in high-resolution photos, so addressing water spots, mold, or mildew patches prevents negative impressions. Using neutral or white towels and minimal decor helps evoke a clean, calm spa-like feeling that appeals strongly to buyers scanning through listings.
Make All of the Beds
Every bedroom gains an instant boost by fully making the beds with fitted sheets and evenly draped comforters. Coordinated linens in calming tones and neatly arranged decorative pillows add texture and sophistication without overdoing it. A well-made bed invites buyers to picture a restful sanctuary rather than a neglected space, adding to the overall sense of care throughout the home.
Bedrooms often reflect the homeowner’s lifestyle, and an untidy bed can undermine even the cleanest room. Investing time in laundering bedding, smoothing out wrinkles, and styling pillows brings uniformity and professionalism to your photos. Secondary bedrooms, easily overlooked, should receive equal attention—buyers will click past images that feel rushed or incomplete. A polished bed signals that every detail of your home has been prepared thoughtfully for showings.
1. Declutter and deep clean all rooms thoroughly. 2. Clear kitchen counters and wipe surfaces spotless. 3. Remove personal photos and items from view. 4. Turn on all lights and open window treatments. 5. Replace burned-out bulbs and add extra lighting. 6. Make all beds neatly with coordinated bedding.
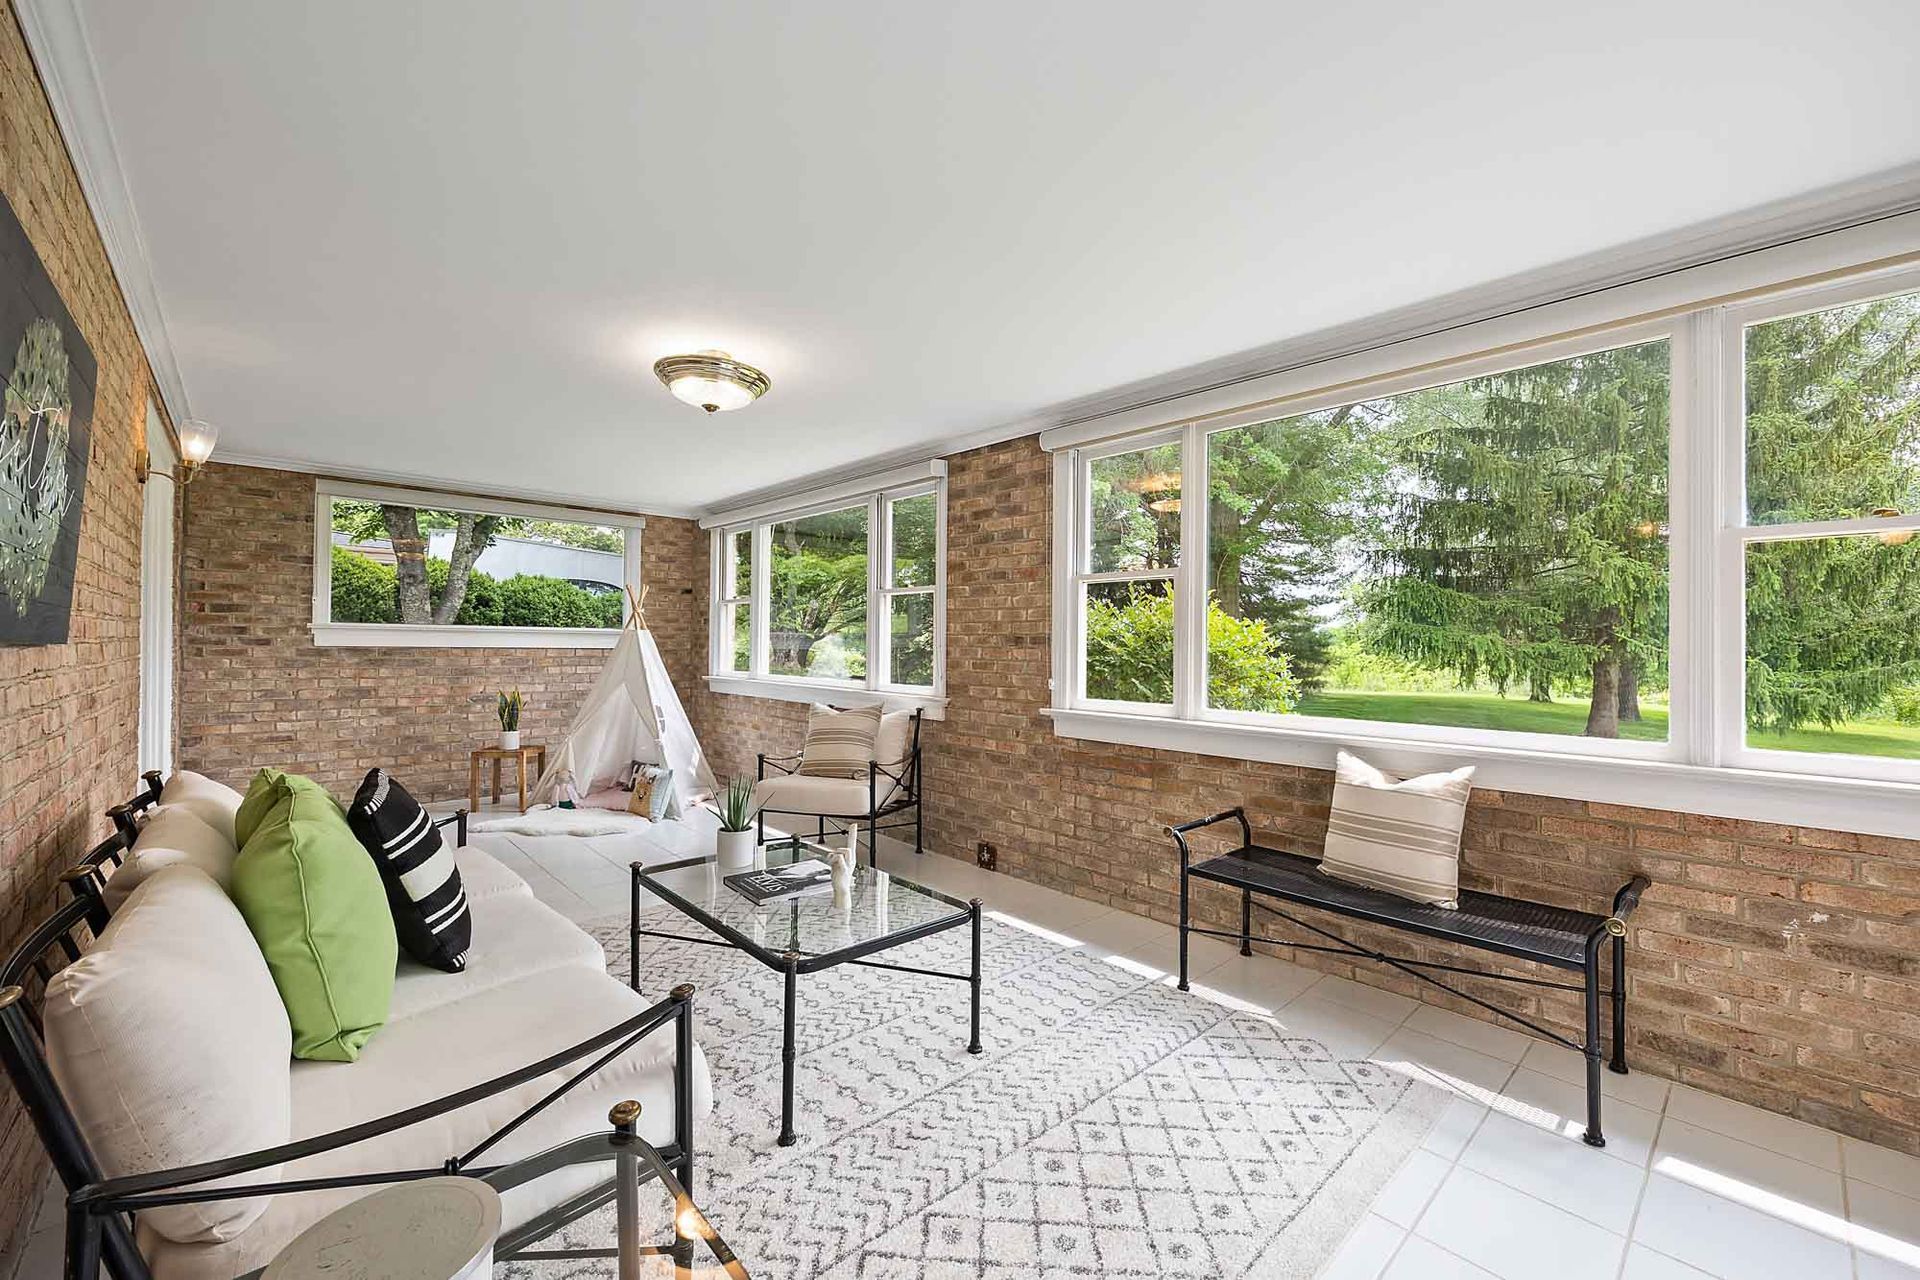
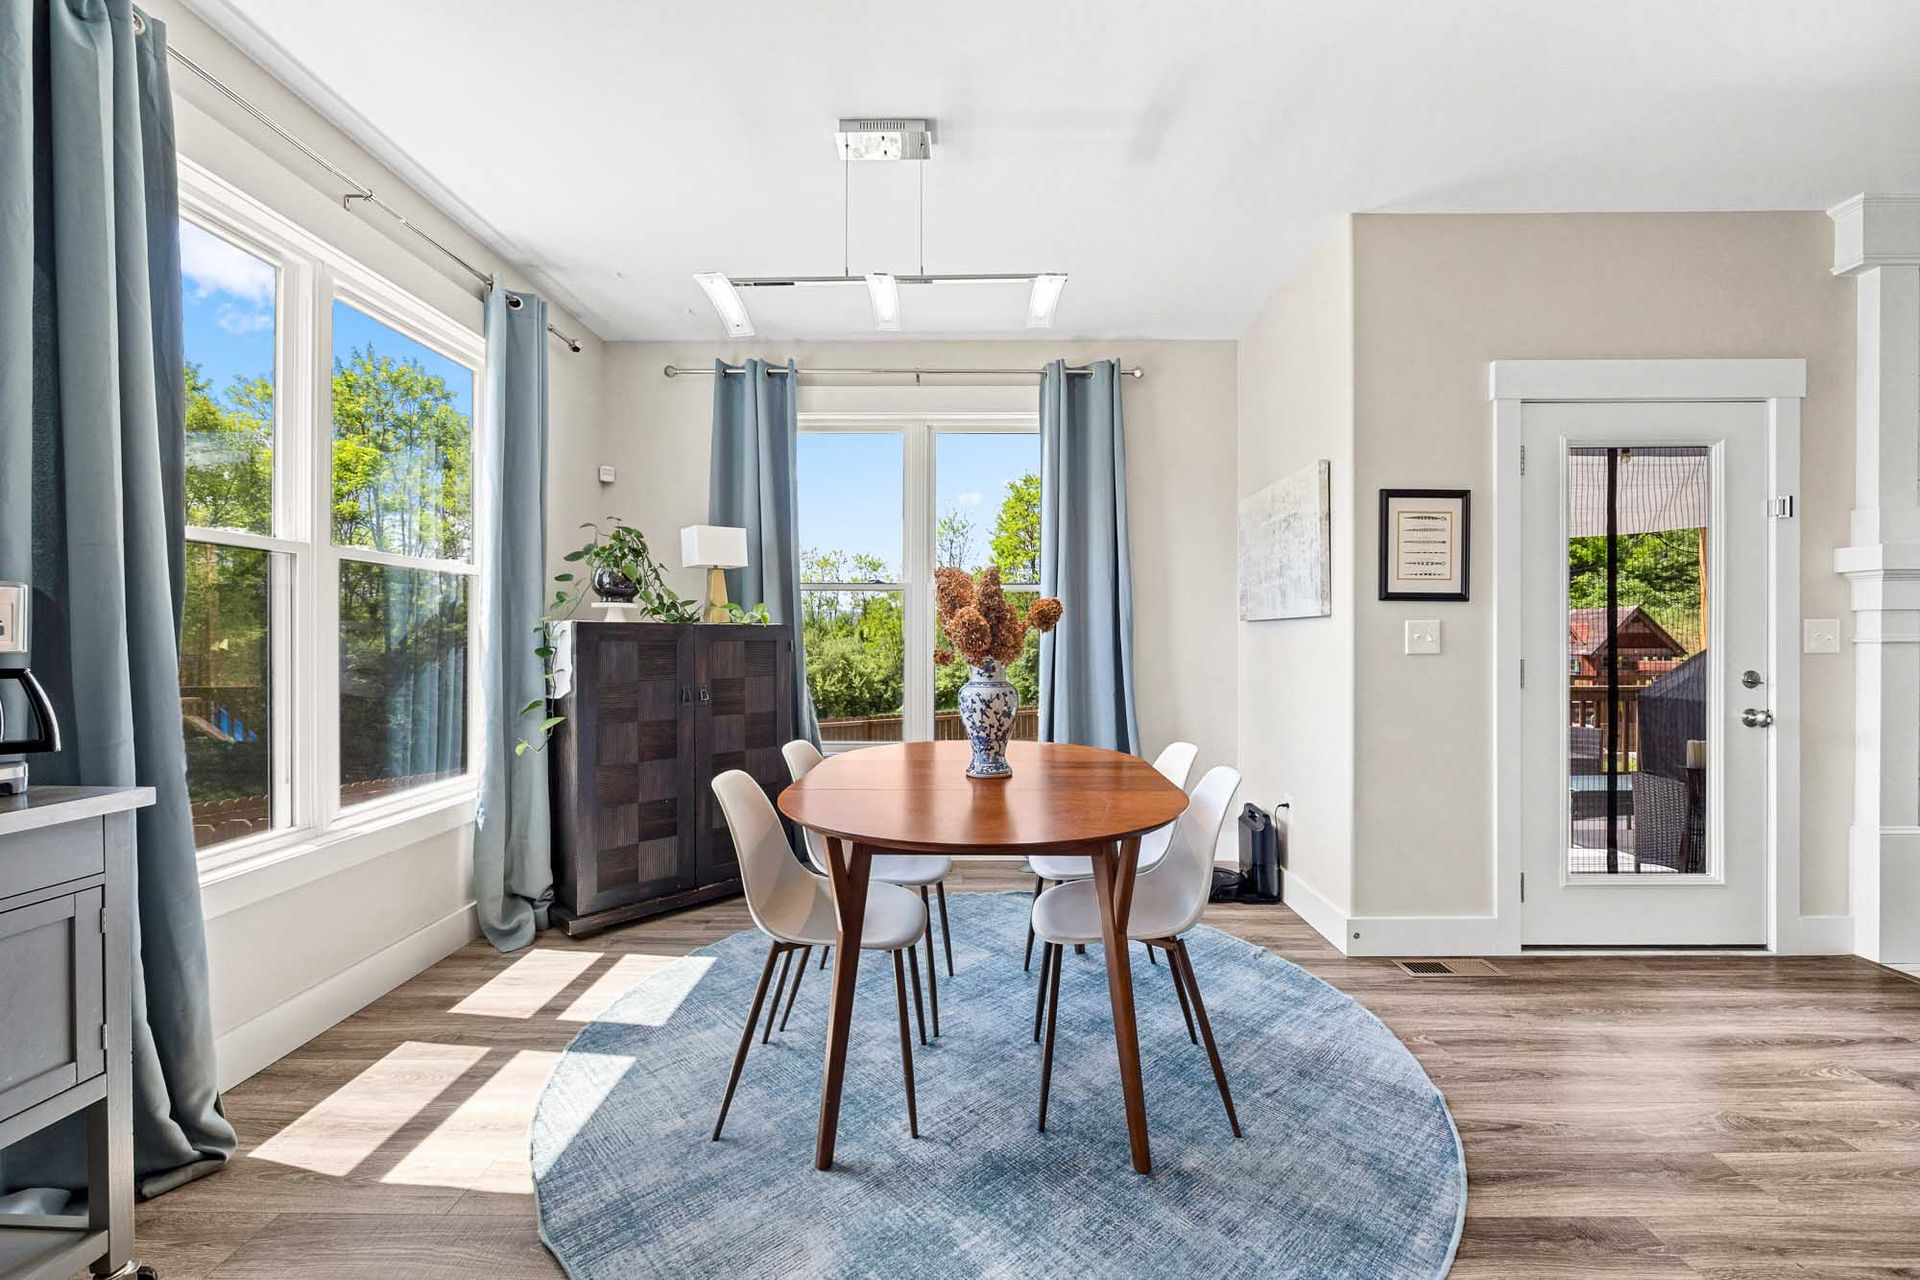
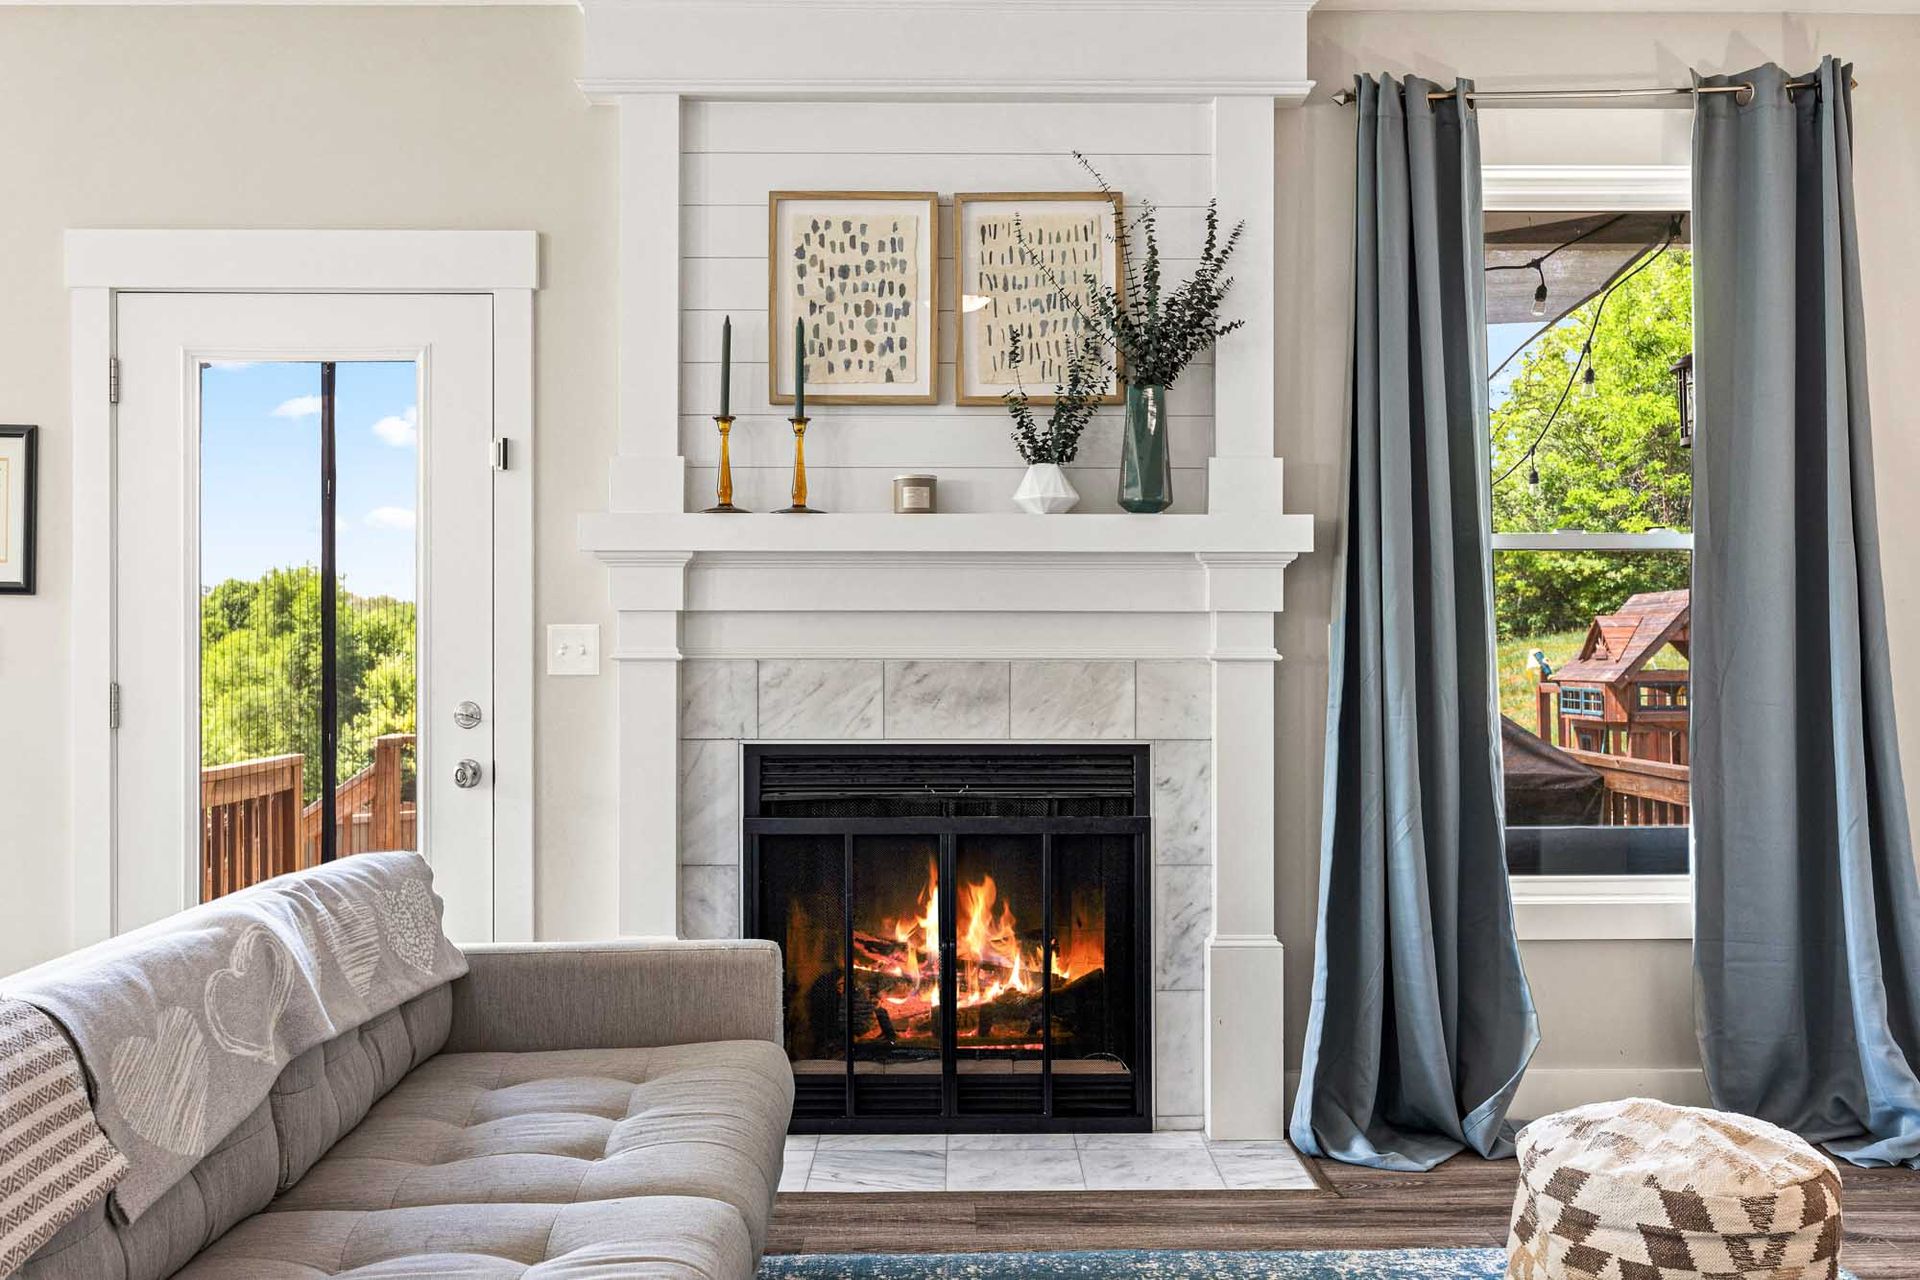
Maximizing Light and Space
Bright, open spaces draw buyers in and make every room feel more inviting. Using both natural and artificial light effectively highlights your home’s best features while minimizing shadows and dark corners. Clearing clutter and arranging furniture to maximize openness allows your photographer to capture the true size and flow of the rooms. Small adjustments like opening window treatments or adding lamps in dim areas can elevate the overall feel, making your home’s photos pop and stand out among the competition.
Replace Burned Out Light Bulbs
Checking every light bulb before your shoot can save you from dull, uneven lighting that dulls photo quality. Walk through each room testing ceiling fixtures, lamps, and outdoor lights. Replace any burned-out bulbs and consider upgrading to daylight bulbs for a brighter, more natural glow. Adding floor lamps in shadowy corners of basements or hallways proves especially valuable. Well-lit rooms not only photograph better but also create an atmosphere that draws potential buyers in from the screen.
Turn On All Lights Throughout The Entire House
Switching on every available light source instantly brightens rooms and enhances their appeal on camera. Combine ceiling lights, table lamps, and under-cabinet lighting to eliminate shadows and create a balanced, inviting glow. Exterior lights also play a key role, improving curb appeal and adding warmth during dusk or cloudy days. This layered lighting strategy ensures the photographer can capture crisp, vibrant images that showcase your home at its absolute best.
Multi-source lighting allows the photographer to avoid harsh contrasts that can obscure details or create dark spots in photos. For example, undersized kitchens often benefit from under-cabinet LED strips that highlight counter space, while living rooms look more spacious when floor and table lamps complement overhead lighting. Activating exterior porch and pathway lights helps create a welcoming aura, making your home memorable and approachable even before buyers step inside.
Open All Window Treatments
Pulling back blinds, curtains, and shades floods rooms with natural light, instantly making spaces seem larger and airier. Clean windows enhance this effect by preventing distracting smudges and streaks from appearing in high-resolution photos. Even on overcast days, natural sunlight softens the indoor lighting and lifts the mood of each room. Your photographer can fine-tune the window coverings if any sunlight proves too intense, but starting with fully open treatments gives them the best canvas to work from.
Natural light not only creates an inviting ambiance but also helps showcase your home’s true colors and textures. Photographers often rely on daylight to balance interior lighting and reduce the need for excessive artificial sources, which can cast unnatural shadows. Ensuring windows sparkle by cleaning inside and out removes any potential distractions that could pull attention from your home’s features. Opening treatments also frames outdoor views, adding an additional layer of appeal to your listing.
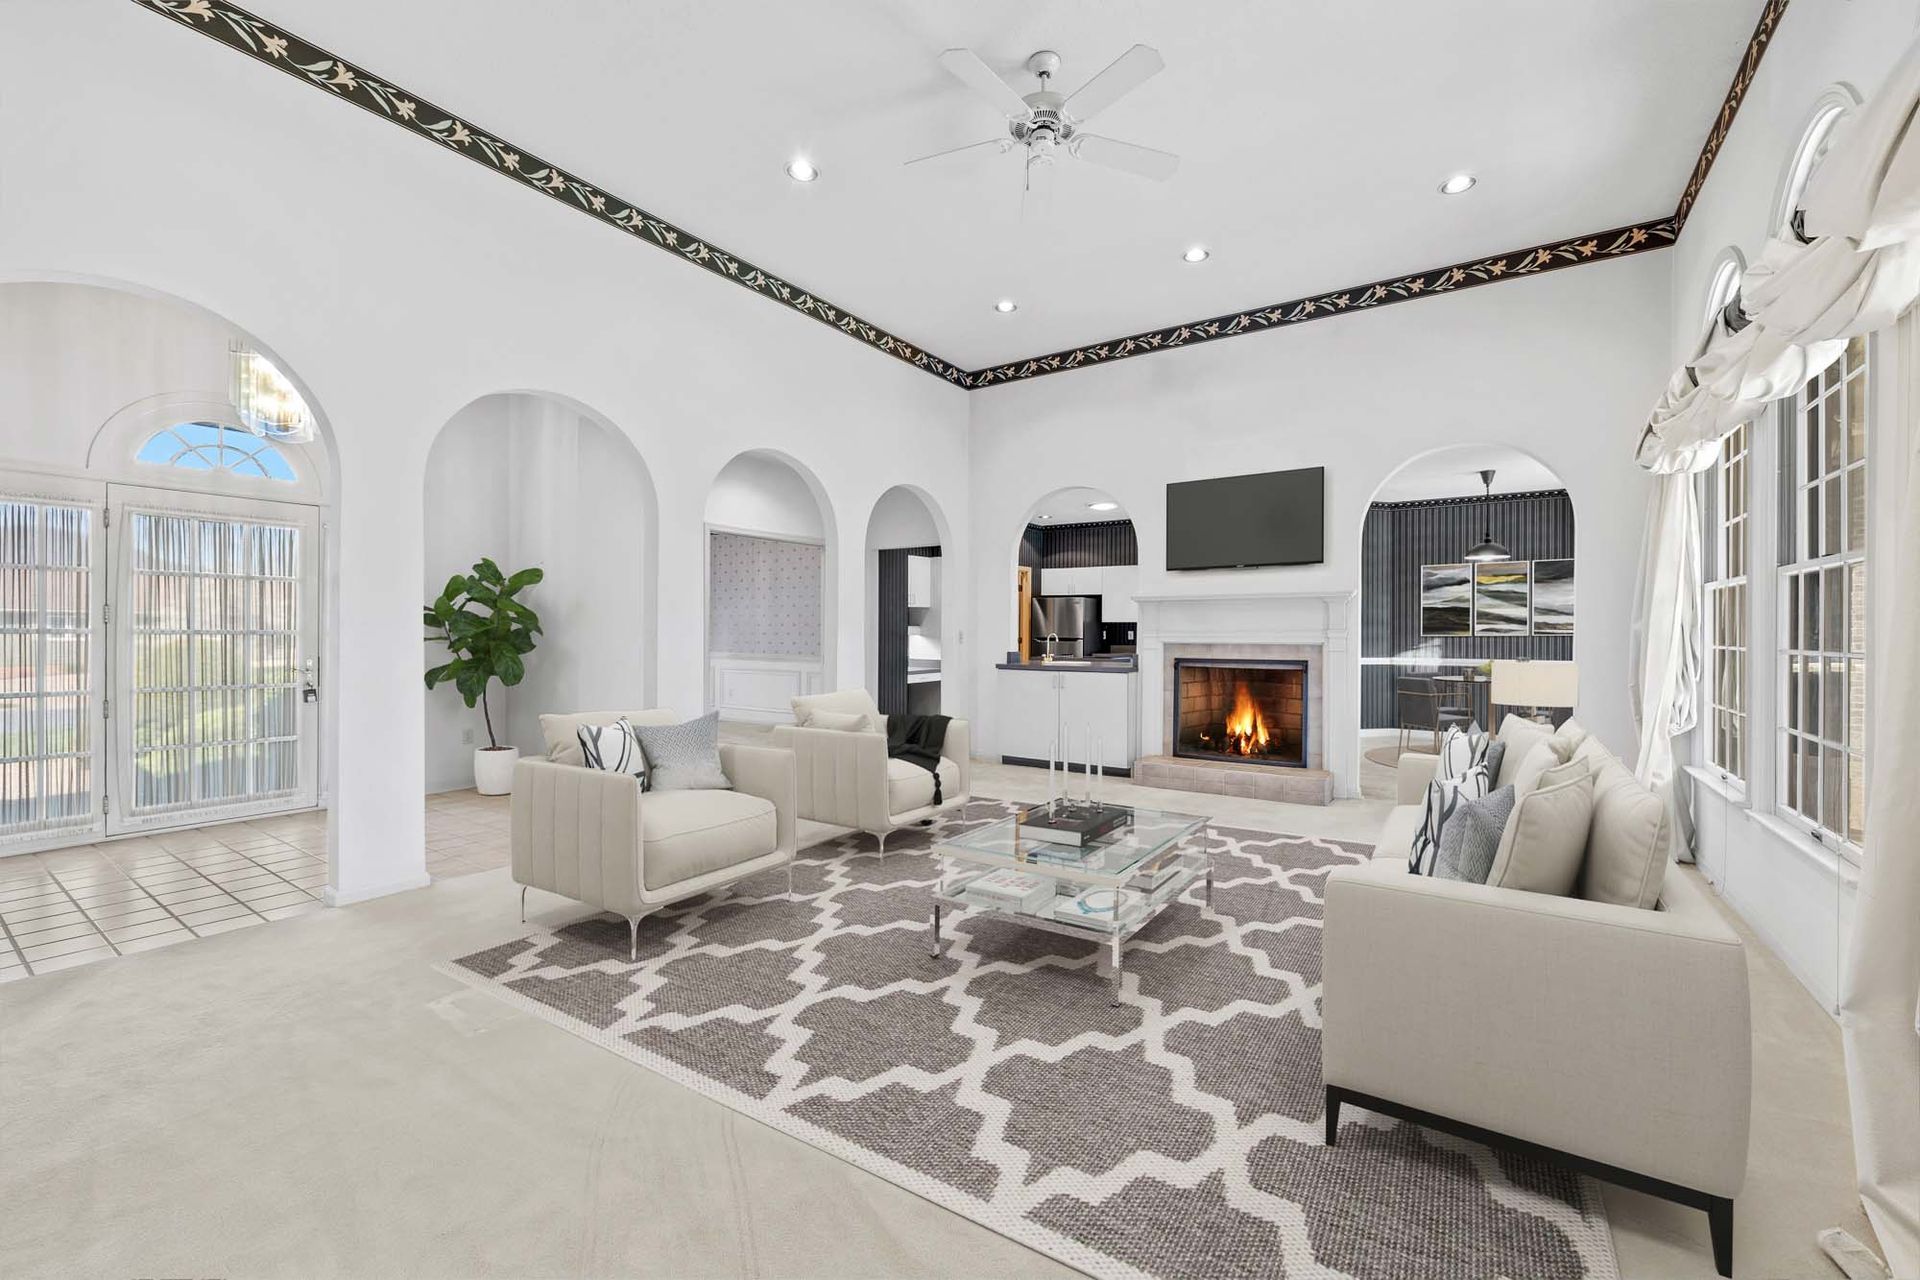
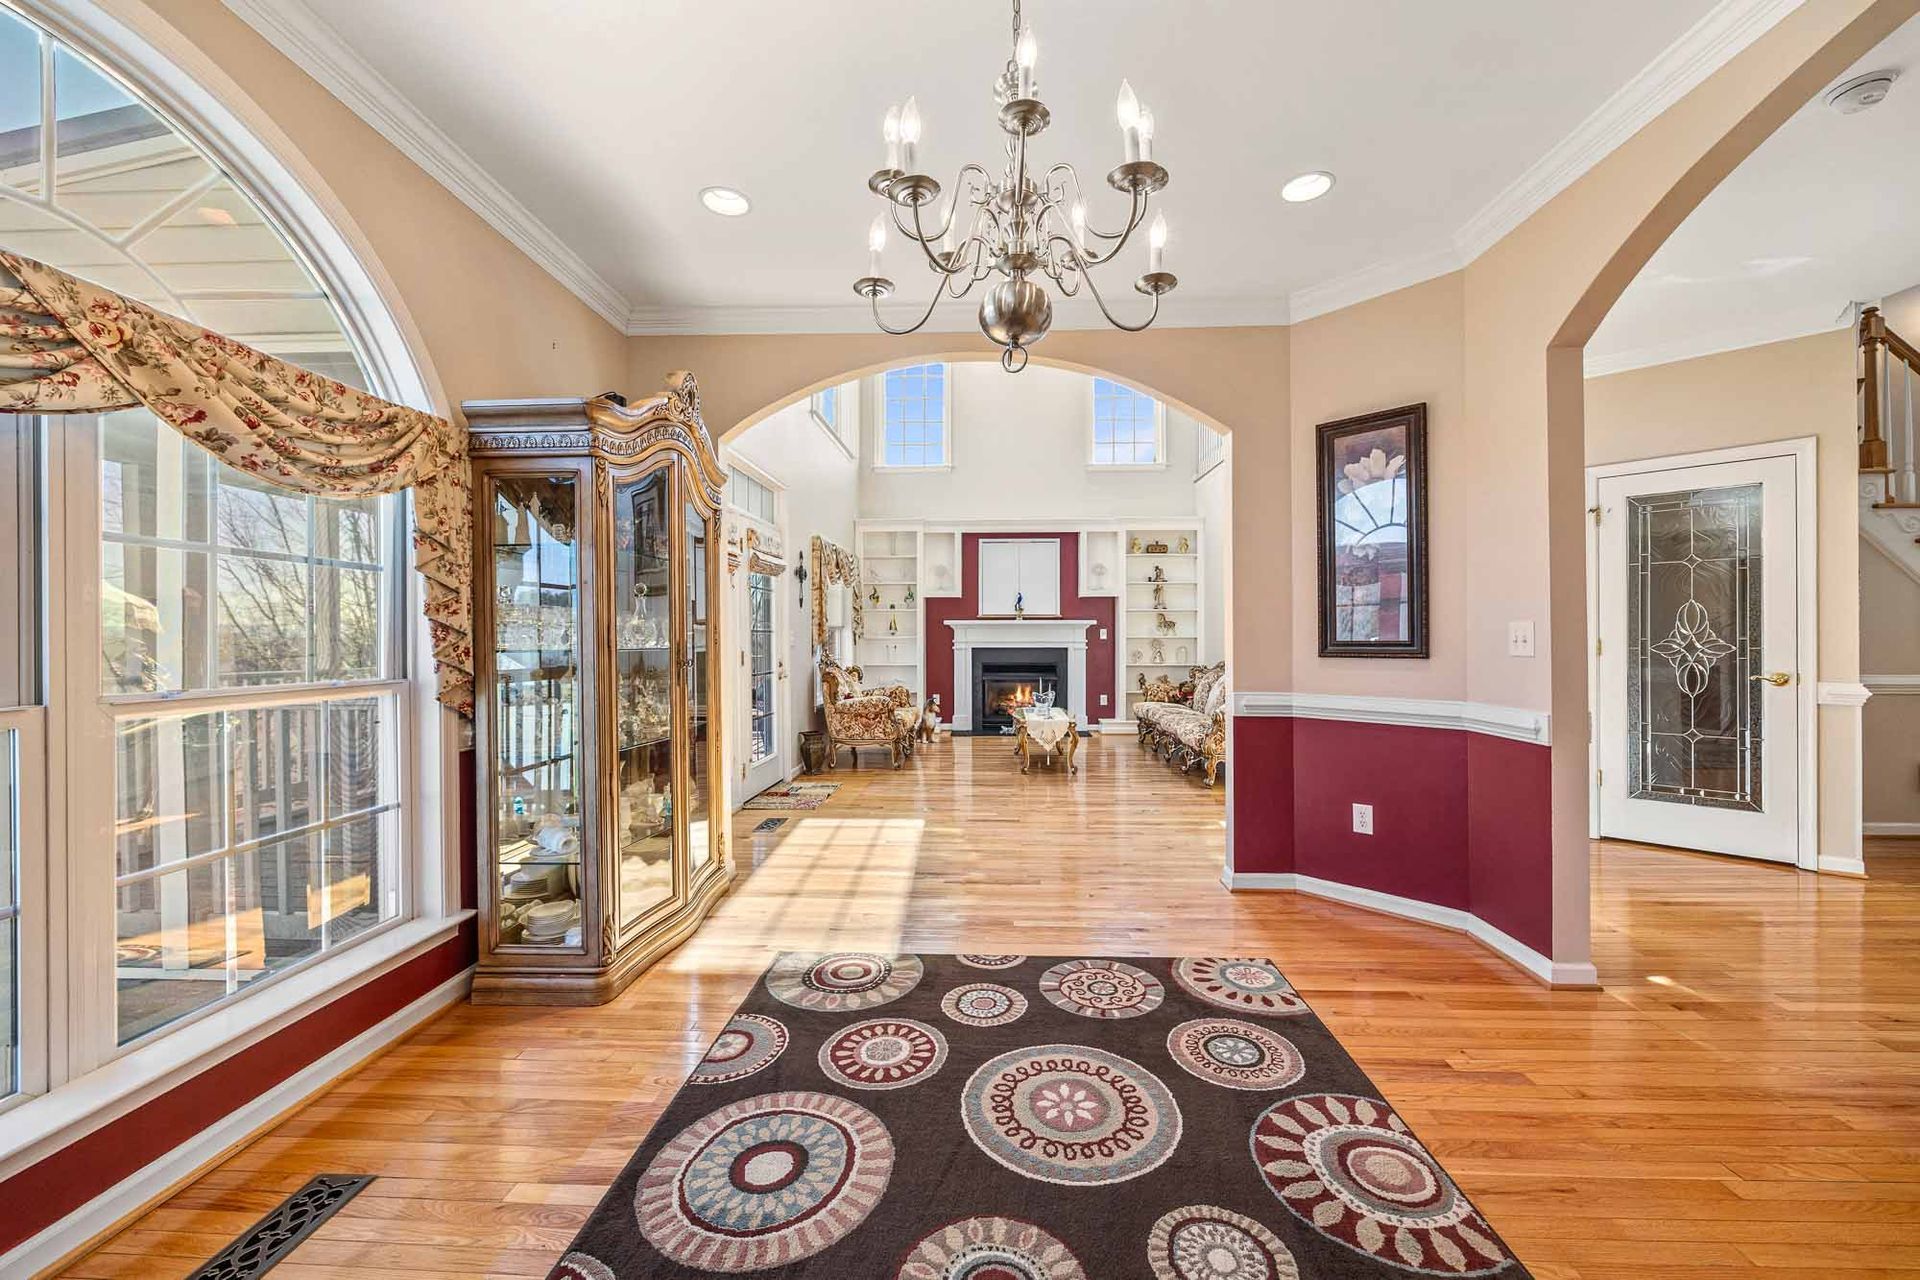
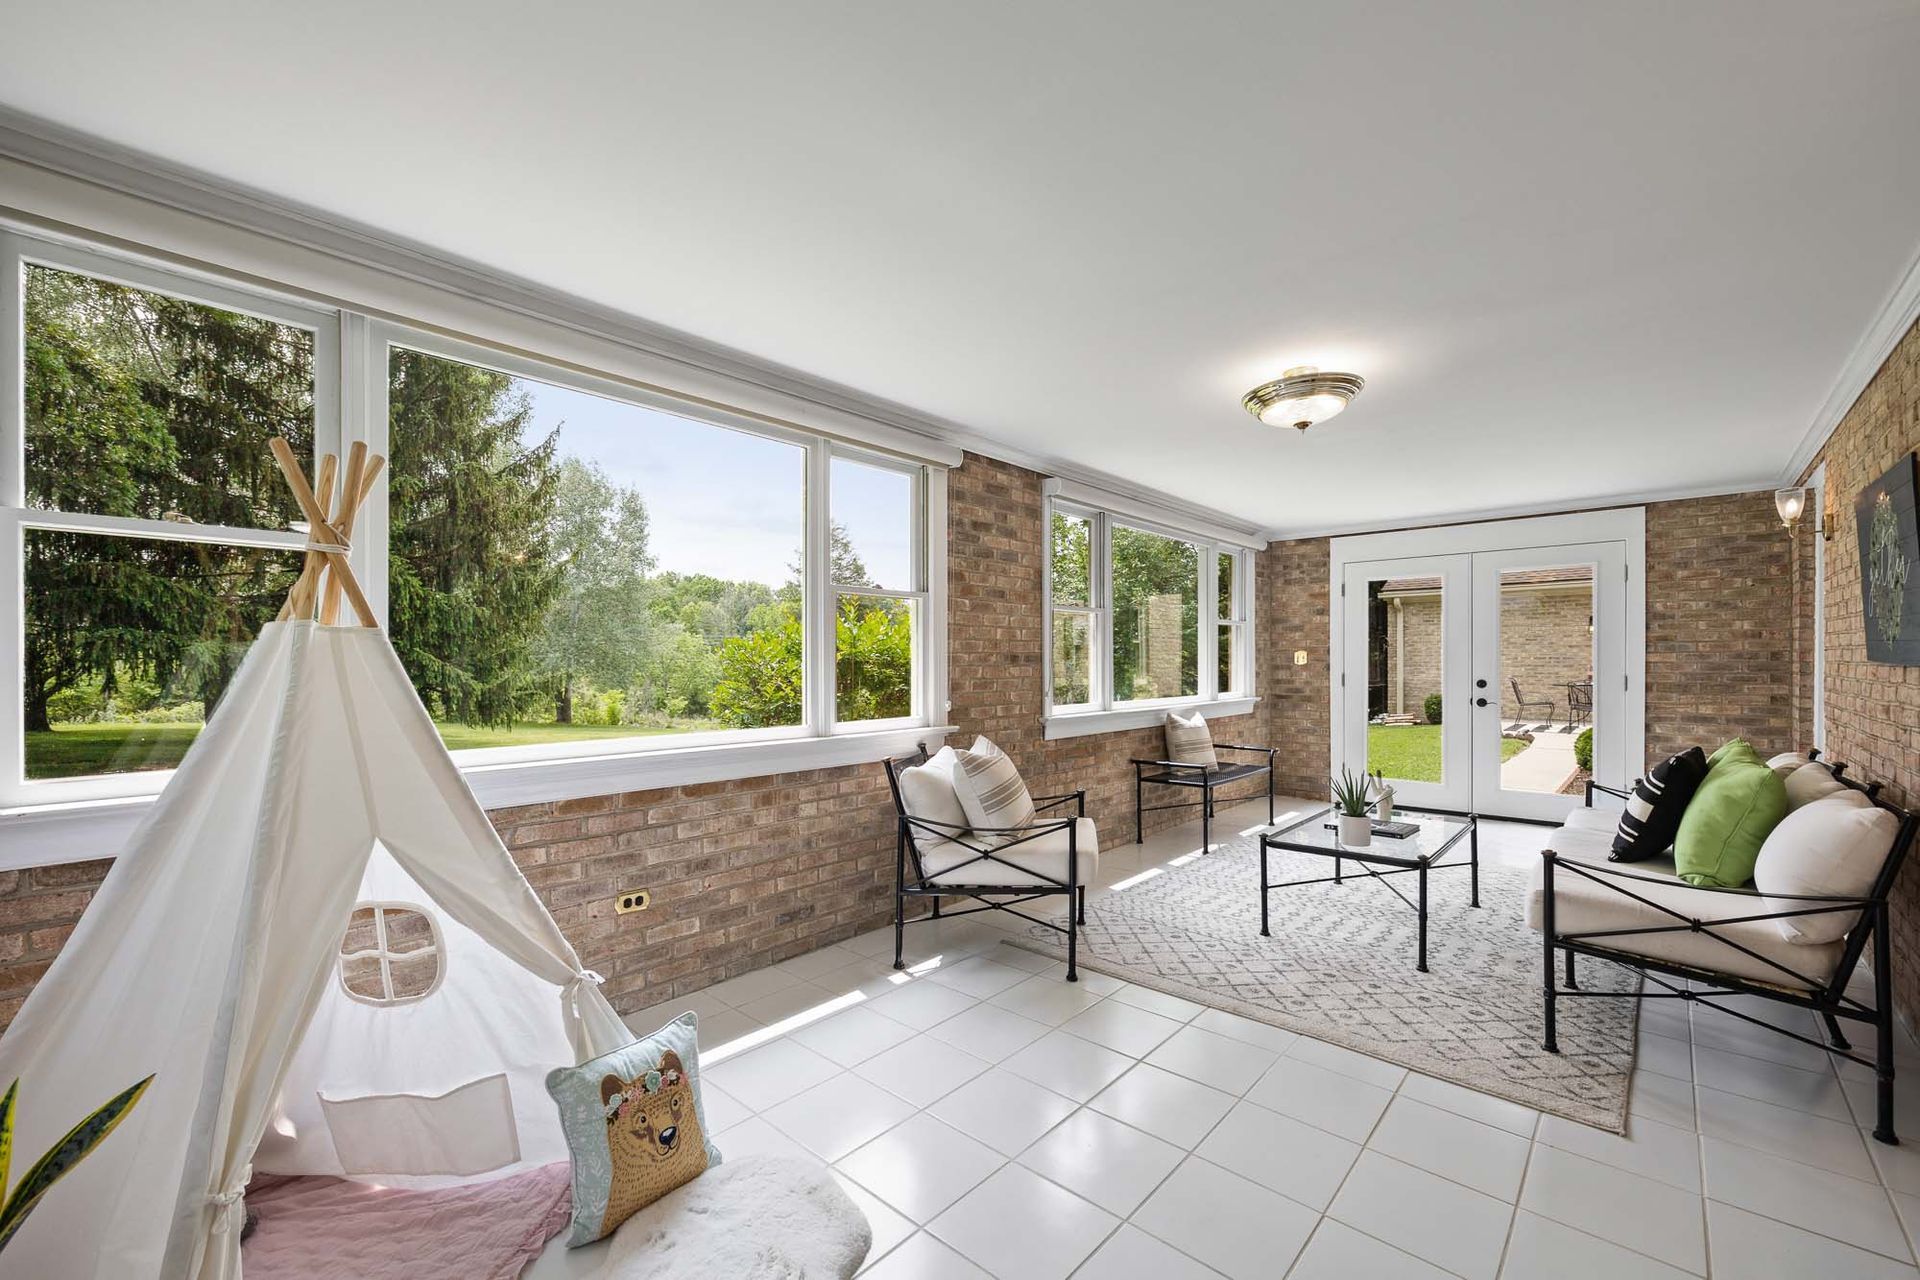
Remove Unnecessary Furniture & Decorations
Clearing out bulky or excess furniture frees up floor space and helps rooms appear larger and more functional. Similarly, removing extra decorations and personal items prevents visual clutter that distracts buyers from imagining themselves in the space. A minimalist, balanced setup allows open sightlines and highlights architectural features. Working with a professional stager can help you strike the perfect balance between cozy and spacious without risking an empty or cold look.
Oversized couches or too many chairs can make a living room feel cramped, while too many knickknacks scatter the eye and reduce the perceived room size. Neutral, streamlined furnishings complement your home’s style and highlight features like hardwood floors or crown molding. A pro stager’s expertise can identify which pieces enhance flow and which disrupt it, ensuring that every angle photographed tells a clear, inviting story to potential buyers.
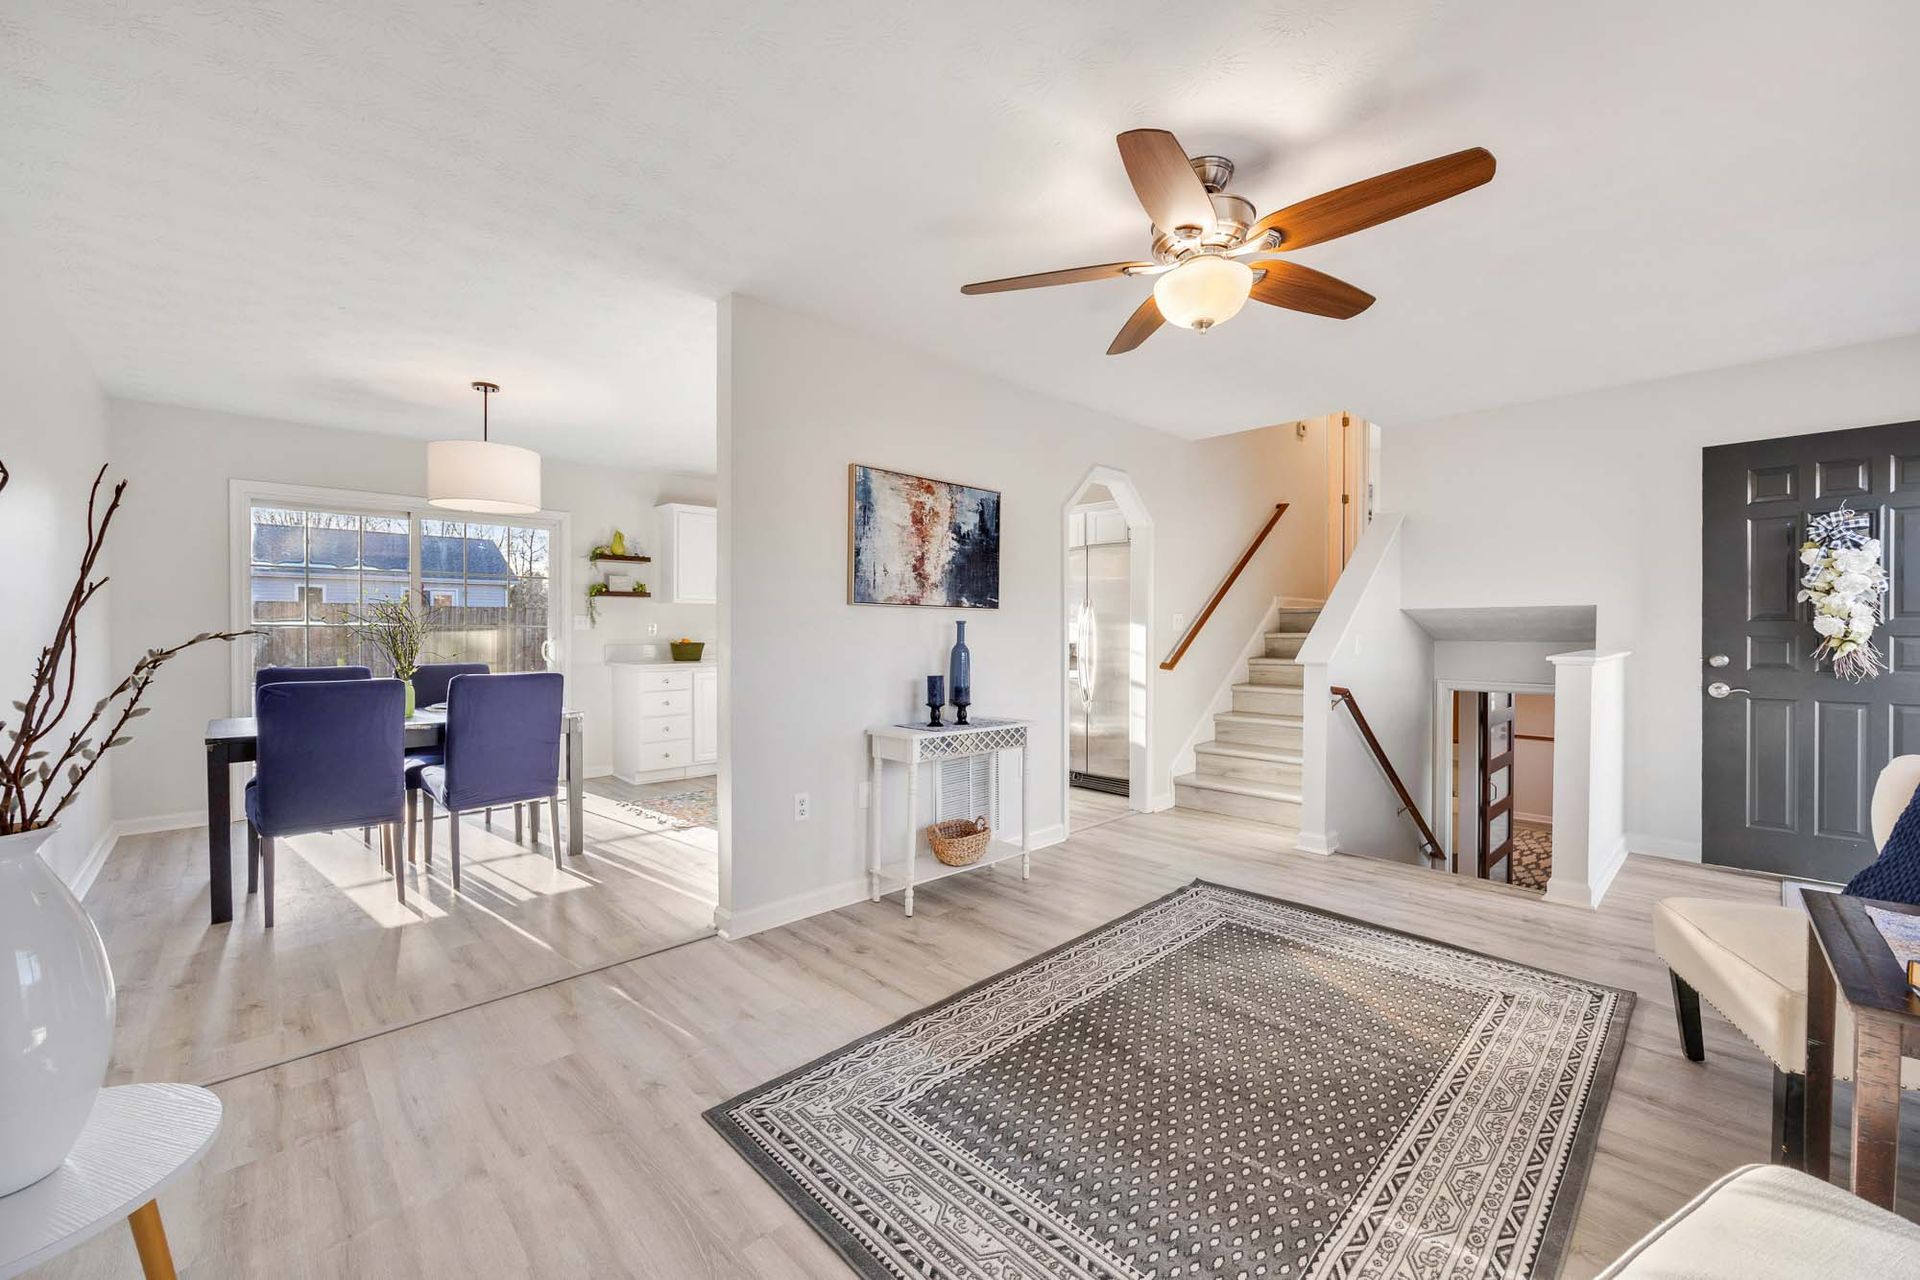
Creating a Neat and Clutter-Free Environment
Clearing away clutter opens up your space, making rooms feel larger and more inviting in photos. Streamline surfaces, put away unnecessary items, and focus on clean lines and open floor space. Even small touches, like organizing shelves or syncing décor colors, can enhance the overall look. A tidy environment allows your home’s best features to take center stage, helping buyers envision themselves living there without distractions.
Remove Floor Mats and Runners
Floor mats and runners can unintentionally shrink the perceived size of your rooms in photos, especially when wide-angle lenses are used. Clearing them out from kitchens, bathrooms, and laundry rooms reveals more visible floor space, creating a cleaner and more expansive feel. For larger rugs, consult a staging expert to decide if temporary removal helps sustain balance and openness in the images.
Clear Appliance Surfaces of Magnets and Clutter
Refrigerators often collect magnets, children’s artwork, calendars, and reminders that clutter the look of your kitchen. Stripping these away results in a sleek, polished appliance surface that complements the clean kitchen aesthetic buyers respond to. This not only enhances visual appeal but also hides personal details, maintaining your privacy in online listings.
Busy refrigerator doors can pull attention away from other highlights in your kitchen, making the space appear disorganized. Concentrate on wiping down all appliance surfaces carefully to remove fingerprints and smudges. Streamlined appliances contribute to an uncluttered environment, which creates a powerful first impression and reinforces a sense of quality and care in your home.
Clear All Night Stands and Dressers
Clear off night stands and dresser tops completely to avoid distractions and visual noise. Removing everyday items like books, chargers, or jewelry dishes creates an orderly, serene bedroom atmosphere. This simplicity helps showcase your bedroom’s space and design details instead of personal clutter, making it more appealing to buyers seeking a restful retreat.
Even small items on furniture surfaces can draw the eye away from your room’s layout and finishes. Aim for minimalism—perhaps a well-placed lamp or a tasteful decorative piece—but keep it balanced. When night stands and dressers are clear, photographs reveal clean, calming spaces that invite prospective buyers to imagine their own belongings fitting in seamlessly.
Remove All Personal Photos and Items
Personal photos and keepsakes can distract buyers by anchoring the home to someone else. Removing these allows your home’s character to shine through without imposing your personal story. This step gives buyers the freedom to picture their own memories and lifestyle unfolding within the space.
Family portraits, trophies, and personalized décor can unintentionally narrow a buyer’s perspective, making it harder for them to connect emotionally. Opt instead for neutral artwork or mirrors to add style without personalization. Creating a neutral canvas keeps the focus on architectural features and spaciousness, both critical in winning positive buyer impressions.
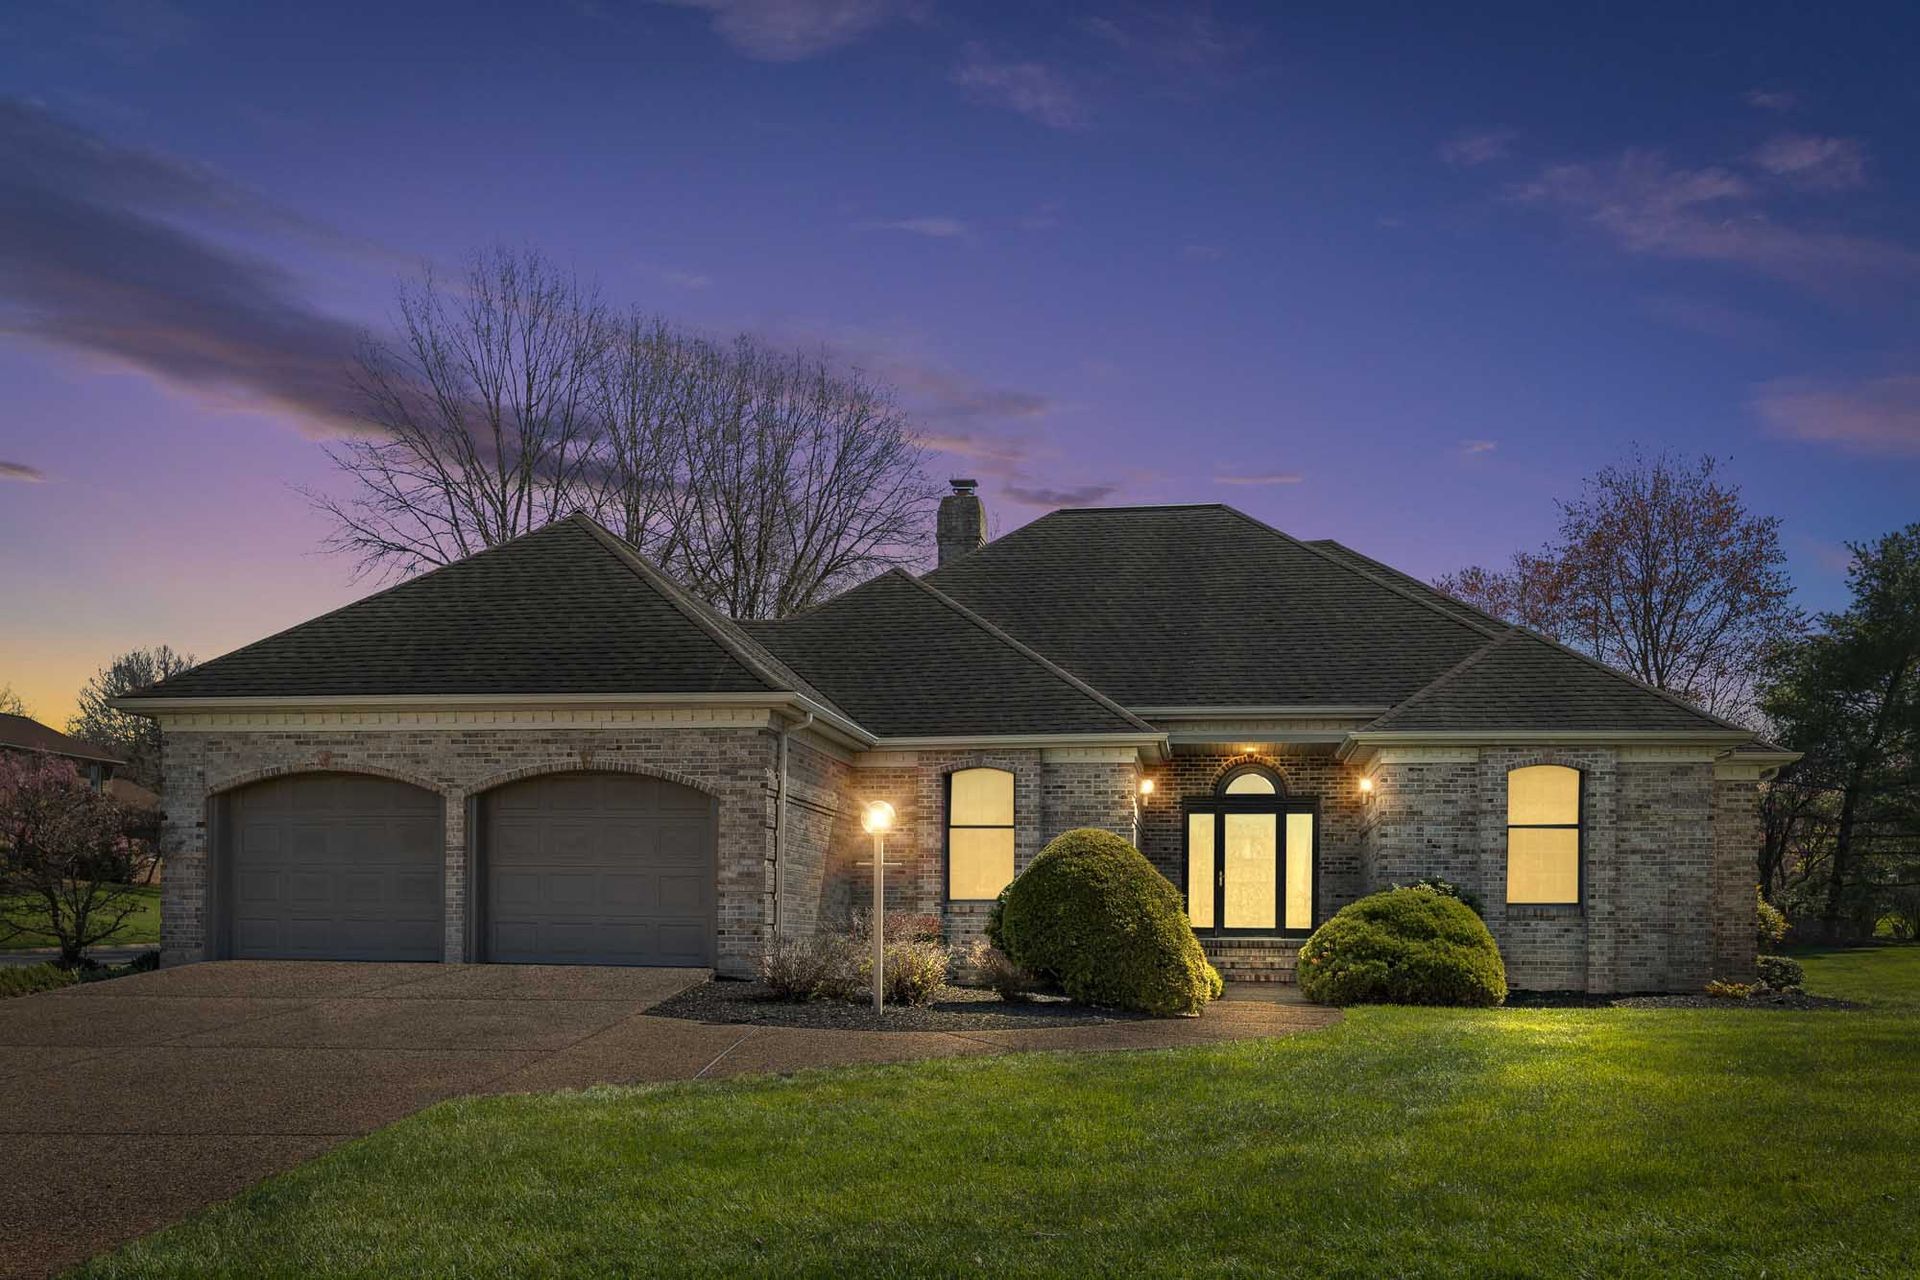
Enhancing Curb Appeal
Curb appeal sets the stage for your home’s first impression, drawing buyers in before they even step inside. A well-maintained exterior with tidy landscaping, clean walkways, and inviting entryways can significantly boost interest and perceived value. Bright exterior lights, freshly trimmed hedges, and a swept porch all come together to create a welcoming atmosphere that photographers will capture to highlight your home’s charm from the outside.
Tidy Up the Yard & Landscaping
Trim overgrown bushes, mow the lawn, and rake leaves to give your yard a neat, well-kept appearance. Removing dead plants and adding fresh mulch or seasonal flowers can add pops of color and vitality. You want the outdoor space to look spacious and cared for, encouraging buyers to imagine relaxing or entertaining there.
Sweep up the Porch/Patio/Deck
A clean porch, patio, or deck immediately enhances your home's appeal. Sweep away dirt, leaves, and debris to prevent distractions and allow the space’s architectural details to stand out in photos. This simple action brightens the area, making it look inviting and ready for outdoor living.
Beyond just sweeping, consider wiping down outdoor furniture and railings for a polished look. Remove any cobwebs from corners and check for stains or marks on surfaces that might show up harshly in high-resolution images. A spotless outdoor living area adds perceived value and suggests a well-maintained home to potential buyers.
Remove All Vehicles from the Driveway and Street
Bare driveways and streets free of cars prevent clutter and allow the full exterior of your home to shine. Empty space creates a sense of openness and ensures the photographer can capture wide, unobstructed shots of your home’s façade and landscaping.
Vehicles often block key sightlines or cast unwanted shadows, limiting the angles your photographer can use. Removing them gives the best visual access to your property, avoids distractions, and helps create a clean, inviting composition that draws buyers’ eyes directly to your home.
Hide Garbage Cans & Lawn Equipment
Place garbage cans, recycling bins, and lawn tools out of view—preferably in a garage or shed—to maintain a tidy exterior. Visible equipment can detract from the beauty of your home and suggest neglect in other areas, which can influence buyer perception negatively.
Lawn mowers, garden hoses, or trash bins left in plain sight often appear messy or unprofessional in photos, reducing your home’s marketability. Keeping these items hidden helps maintain a clean and organized look, letting your home’s best features take center stage.
Final Preparations Before the Shoot
In the final moments before the photographer arrives, focus on small but impactful touches that keep the flow smooth. Make sure all ceiling fans, TVs, and computer screens are turned off to avoid visual distractions or motion blur. Remove any pet-related items to maintain a neutral and allergen-free environment. Open up patio umbrellas and remove outdoor cooker covers to present an inviting, spacious outdoor area. These thoughtful steps clear the way for your photographer to capture your home at its absolute best without interruption or last-minute adjustments.
Turn All Ceiling Fans, TVs, and Computer Screens Off
Active ceiling fans can produce motion blur, and illuminated TVs or computer monitors often create odd reflections or distortions in HDR photographs. Switching everything off before the shoot prevents these issues and results in crisp, professional-quality images. This simple action also lets your photographer concentrate on framing your rooms’ best angles without distractions that compromise picture clarity.
Remove All Pet Items
Take away pet beds, toys, food bowls, and litter boxes to minimize clutter and avoid highlighting signs of pets in your home. Buyers can be sensitive to pet odors and dander, so removing these items helps create a clean, allergen-free appearance that appeals to a broader audience.
Pet accessories often accumulate in visible areas, and leaving them out not only distracts buyers but may also suggest a less allergen-controlled environment. Even if you have well-behaved pets, their belongings can suggest messiness or damage—removing them allows your home’s features, not pet paraphernalia, to shine. Storing these items away temporarily presents a tidier, more neutral setting, encouraging buyers to envision the home as their own.
Open Up Patio Umbrellas
Open patio umbrellas expand the sense of usable outdoor space and add visual interest in exterior shots. They provide shade, help define seating areas, and introduce pops of color and texture that can make your backyard or patio more inviting in photos.
Closed umbrellas can make outdoor spaces appear cramped or neglected, while open ones convey a ready-to-enjoy atmosphere. In listings from recent market analyses, homes with staged outdoor areas showing open umbrellas and furniture saw up to 15% higher engagement from buyers browsing online, reinforcing the importance of this detail for appealing outdoor visuals.
Remove Outdoor Cooker Covers
Removing covers from grills, smokers, or other outdoor cooking appliances reveals clean, well-maintained features that buyers appreciate. Exposed appliances showcase the lifestyle potential of your yard and contribute to a polished, cared-for impression.
Covered outdoor cookers can look neglected or unused, potentially suggesting maintenance issues. Removing covers exposes shiny surfaces and adds authenticity to your outdoor entertaining spaces. A clean, visible grill area invites buyers to imagine gatherings and seasonal meals, enhancing the emotional connection to your property’s exterior living areas.
To wrap up
So, following the 20-Step Checklist to Prepare Your Home for Real Estate Listing Photos helps you present your property at its best and capture buyers’ attention quickly. By taking these organized steps, you ensure your home looks inviting, spacious, and well-maintained, allowing the photographer to focus on highlighting its strongest features. Preparing ahead not only smooths the photo shoot process but also increases the appeal of your listing, making it easier for potential buyers to envision themselves in the space and increasing your chances for a successful sale.
FAQ
Q: How early should I start preparing my home before the photographer arrives?
A: It’s best to begin prepping your home at least a day or two before the scheduled photoshoot. This allows enough time to declutter, deep clean, and make any necessary adjustments without feeling rushed. Having everything ready in advance ensures that the photographer can focus on capturing the best angles without interruptions.
Q: What type of lighting should I use for the real estate photos?
A: Use a combination of natural and artificial lighting to brighten your home. Open all window treatments to let in sunlight and turn on all interior and exterior lights, including lamps and ceiling fixtures. This combination helps create inviting, well-lit spaces that photograph beautifully.
Q: Should I leave personal items and photos in the rooms?
A: It’s best to remove all personal photos, keepsakes, and personal decorations before the photo session. This helps buyers envision themselves living in the home by creating a neutral and welcoming environment that highlights the property rather than the current occupants.
Q: How important is furniture arrangement for the photoshoot?
A: Furniture arrangement plays a significant role in how spacious and inviting a room appears. Removing unnecessary or bulky furniture and decorations can open up the space, making rooms look larger and more appealing. If uncertain, consulting a professional stager can be helpful to create a balanced and attractive setup.
Q: What are common mistakes to avoid on the day of the photoshoot?
A: Common mistakes include having lights turned off, clutter on counters or floors, unmade beds, and active ceiling fans or electronic screens causing motion blur. Ensuring all these elements are addressed before the photographer arrives helps maintain a smooth session and results in higher-quality, professional images.