
Real Estate Photo Prep That Gets More Showings
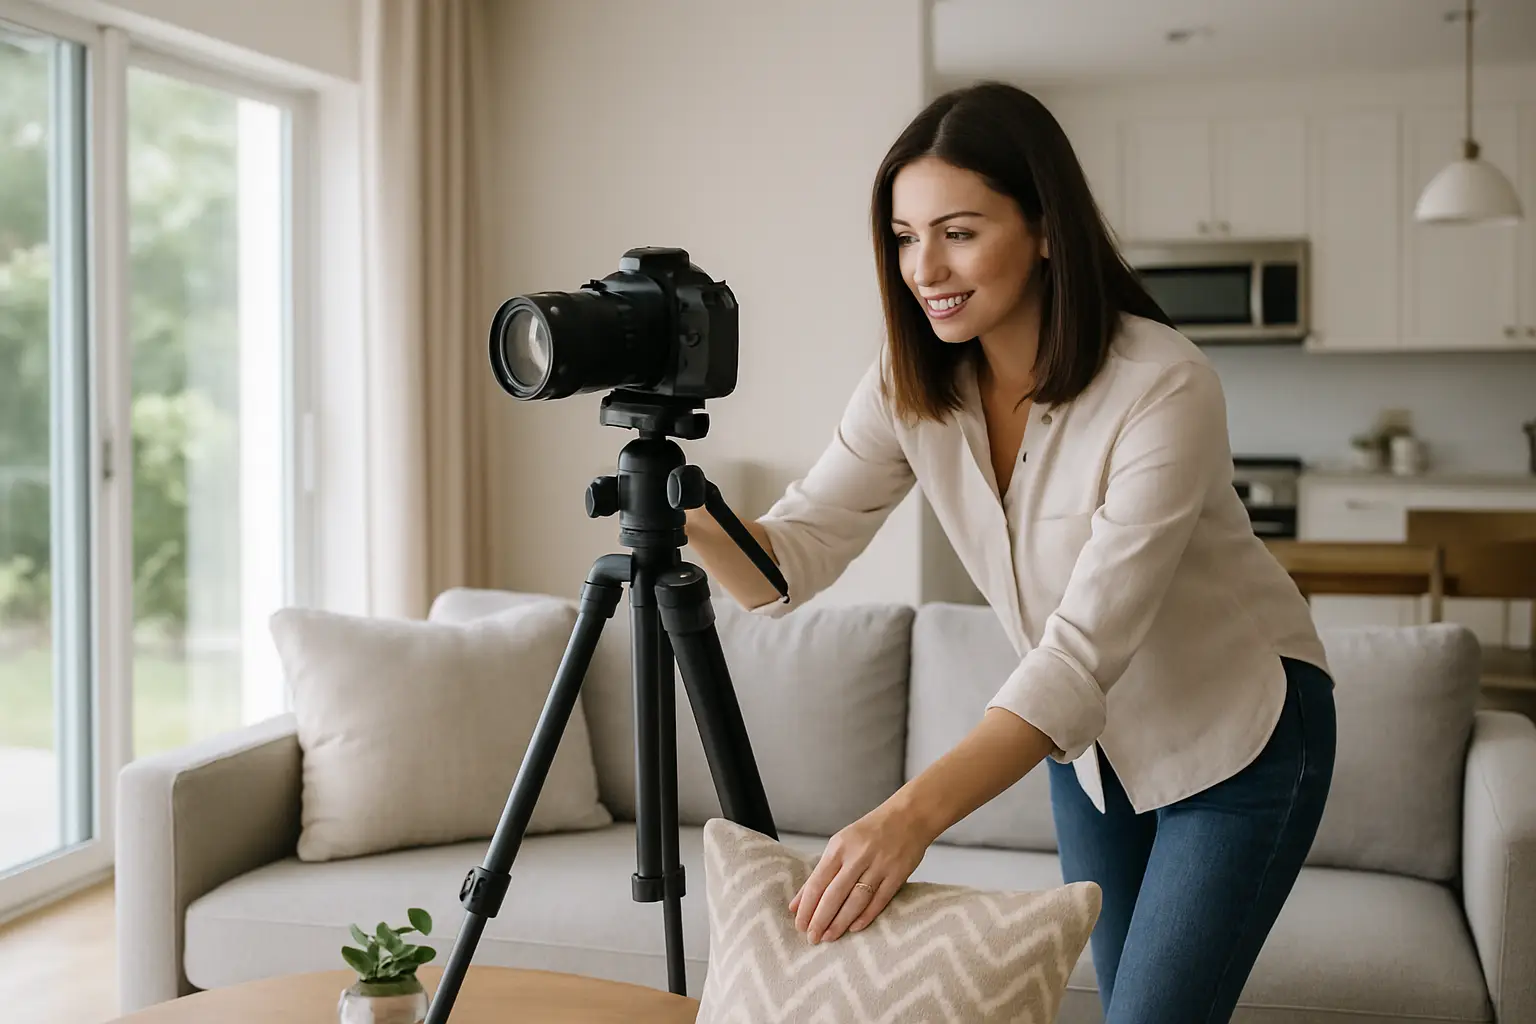
The fastest way to lose a buyer online is to make them work for the basics. Dark rooms. Counter clutter. A half-open toilet seat. A gorgeous home can look average in the first three photos – and most buyers never make it past the first three.
This is why seller prep matters as much as professional photography. Not because you want “pretty pictures,” but because you want more clicks, more saved listings, and more showing requests with fewer objections. Below is a real estate photo checklist for sellers that listing agents can hand over early, then use to spot-check the home 30 minutes before the camera comes out.
Why photo prep is a pricing strategy (not busywork)
Buyers build a story from the photos. If the story is “tight on storage,” “dated,” or “needs work,” they’ll either skip the showing or show up already negotiating. Prep helps photos communicate what you actually want the market to feel: space, light, cleanliness, and care.
There is a trade-off. Over-prepping can make a home feel sterile or misleading, especially if it removes all personality and warmth. Under-prepping makes the home feel smaller and lower value than it is. The goal is simple: remove distractions so the buyer’s eye lands on layout, finishes, and natural light.
Real estate photo checklist for sellers (the non-negotiables)
Think of this as two layers: what has to be done for every home, and what depends on the property type, season, and target buyer.
1) Light it like you want it to sell
Light is what makes rooms feel larger and more inviting online. Before the shoot, replace burned-out bulbs, match color temperature where you can (mixing daylight and warm bulbs reads messy on camera), and open every blind and curtain unless privacy is a real issue.
Turn on lights throughout the home, including lamps. This feels odd in daytime, but it photographs better and reduces harsh contrast. If a fixture flickers, leave it off and tell your photographer. A flicker can ruin a sequence of interior frames.
2) Declutter hard – the camera sees everything
A clean room can still photograph cluttered. Photos compress depth, so countertops and surfaces look busier than they feel in person. Clear the kitchen counters as close to “model home” as you can. That means small appliances, dish racks, sponge holders, and stray cords go away.
In bathrooms, remove all personal items. Toothbrushes, shampoos, razors, and trash cans read as visual noise. Close toilet lids. Hide plungers and toilet brushes. If you want one “life” detail, a single neutral soap dispenser is fine, but keep it intentional.
If sellers struggle with this, a practical approach is to stage a few lidded bins in the garage or a closet and do a last-minute sweep. It is faster than trying to “organize” in place.
3) Clean for shine, not just for living
Photography is unforgiving with reflective and high-contrast surfaces. Smudges on stainless steel, streaks on mirrors, and dust on dark furniture all show up.
Focus cleaning time on glass, mirrors, appliance fronts, sink basins, and floors. Vacuum lines can be a plus on carpet, but only if the carpet is truly clean. For hardwoods, a quick buff to remove footprints helps the room feel brighter.
4) Depersonalize enough to widen the buyer pool
Buyers want to picture their life there. That is harder when the walls are filled with family photos, kids’ artwork, and niche decor.
Remove or minimize personal photos and highly specific items. You do not need to strip everything, especially in higher-end homes where tasteful art adds polish. The rule is simple: if something pulls attention away from the room itself, it should be moved.
5) Make the home feel “ready” in every frame
Open interior doors strategically to show flow, but avoid a random mix of open and closed that looks chaotic. Make beds tight. Straighten pillows. Square dining chairs. Hide pet bowls and litter boxes if possible.
Pets are a big “it depends.” For some buyers, pet items signal wear and odor concerns even when the home is spotless. If the home is pet-friendly and the market expects it, keep one or two subtle cues. Otherwise, pack pet gear for the shoot.
Room-by-room checklist sellers can actually follow
The biggest seller frustration is vague instructions. Here is what to ask for, by room, in plain English.
Entry and main living areas
Make the entry feel open: clear shoe racks, hooks overflowing with coats, and piles of mail. If there is a console table, keep only a small plant or a single neutral accessory.
In living rooms, remove extra throws, kids’ toys, and stacks of magazines. Hide remote controls and charging cables. If furniture is oversized for the room, consider removing one chair or side table temporarily. Photos sell space.
Kitchen
The kitchen is where clutter costs you the most.
Clear counters and the top of the fridge. Remove hand soap bottles that look worn, replace stained dish towels, and put away cutting boards unless they are decorative and spotless.
If the sink is visible, it should be empty and dry. The dishwasher can be left slightly open during prep, but it must be closed for photos. A full trash can should be taken out.
Dining room
If you have a dining table, set it cleanly with nothing on it or a simple centerpiece. Avoid bulky place settings unless the home is truly staged. Chairs should be evenly spaced and tucked.
Primary bedroom
Tighten bedding, smooth wrinkles, and keep nightstands minimal. Move laundry baskets out of sight. If the closet will be photographed (walk-ins often are), clear the floor and reduce visual overload. Closets that look jammed read as “no storage.”
Secondary bedrooms, kids’ rooms, offices
These spaces are where sellers tend to “give up.” Don’t. A messy secondary bedroom makes buyers assume the whole house lacks order.
For kids’ rooms, use bins and keep only a few toys visible. For offices, hide paper stacks and personal documents. A clean desk communicates flexible space – office, nursery, hobby room – rather than one person’s chaos.
Bathrooms
Bathrooms should look like no one lives there, for 30 minutes.
Remove bath mats (unless they are new and neutral), close lids, and clear shower shelves if they’re visible. Replace or remove worn shower curtains. Polish faucets. If there is a mirror, it must be streak-free.
Laundry and utility spaces
Laundry rooms can help the listing if they look functional and clean. Put detergents and baskets away, wipe the machines, and clear the floor. If the HVAC or water heater is in frame, sweep around it. A utility space that looks maintained supports the “well cared for” story.
Basement, storage, and garage
These areas rarely need to look perfect, but they do need to look roomy and dry.
Clear the center of the garage floor. Stack storage neatly along walls. Remove random piles. If there is visible moisture staining, address it before photos – the camera will highlight it.
Exterior checklist: curb appeal is your click-through rate
Your main exterior photo is often the cover image. If it looks tired, buyers assume the interior is tired too.
Mow, edge, and blow off sidewalks and driveways. Remove vehicles from the driveway if you can. Put away hoses, toys, and lawn tools. Straighten patio furniture. A few minutes here can lift the entire shoot.
If the season allows, add simple color with a couple of planters by the entry. Avoid anything that feels temporary or cheap. If the yard is dormant in winter, focus on cleanliness: clear leaves, sweep porches, and remove dead pots.
The “day-of” timeline that prevents reshoots
Most photo-day problems come from time pressure. Sellers are still cleaning while the photographer is setting up, or the agent walks into a home where half the prep is unfinished.
Aim for a simple schedule. The night before, do the deep clean and clear surfaces. The morning of, do the final sweep: lights on, blinds open, counters empty, toilet lids closed, beds made, trash out.
If the seller will be home, ask them to plan to leave. Not because they are in the way, but because people tend to “hover” and re-clutter rooms as they move around. A quiet, empty house photographs faster.
When upgrades and add-ons make sense
Not every listing needs every media option. The right choice depends on price point, property type, and how competitive your local market is.
Aerial photos can be a difference-maker when land, views, privacy, or proximity are part of the value. Twilight images can elevate homes with strong exterior lighting, pools, or premium architecture, but they are less useful on homes where the exterior is simple and the street scene is busy.
3D tours tend to work best when the layout is a selling feature, the home is larger, or you expect out-of-town buyers. Floor plans can reduce “layout uncertainty,” which means fewer low-intent showings and better-qualified buyers.
If you want a reliable, repeatable workflow for listing media in the Shenandoah Valley, Villa Views is built for fast turnaround and performance-focused packages agents can book online.
A final agent move that sellers appreciate
Send this checklist as a one-page message, then tell sellers you will do a quick walkthrough before the shoot to help them win online. It reframes prep as support, not pressure. And it sets a clear standard: the home does not need to be perfect – it needs to be distraction-free.
The best part is what happens after the photos go live. When the listing looks clean, bright, and confident from the first frame, buyers do what you want them to do: click, schedule, and show up ready to say yes.
Listing photos that sell homes faster.
Professional real estate media with 24-hour delivery across Waynesboro, Staunton, and the Shenandoah Valley.
Book a Shoot