
Prep Your Listing for Photos That Get Clicks
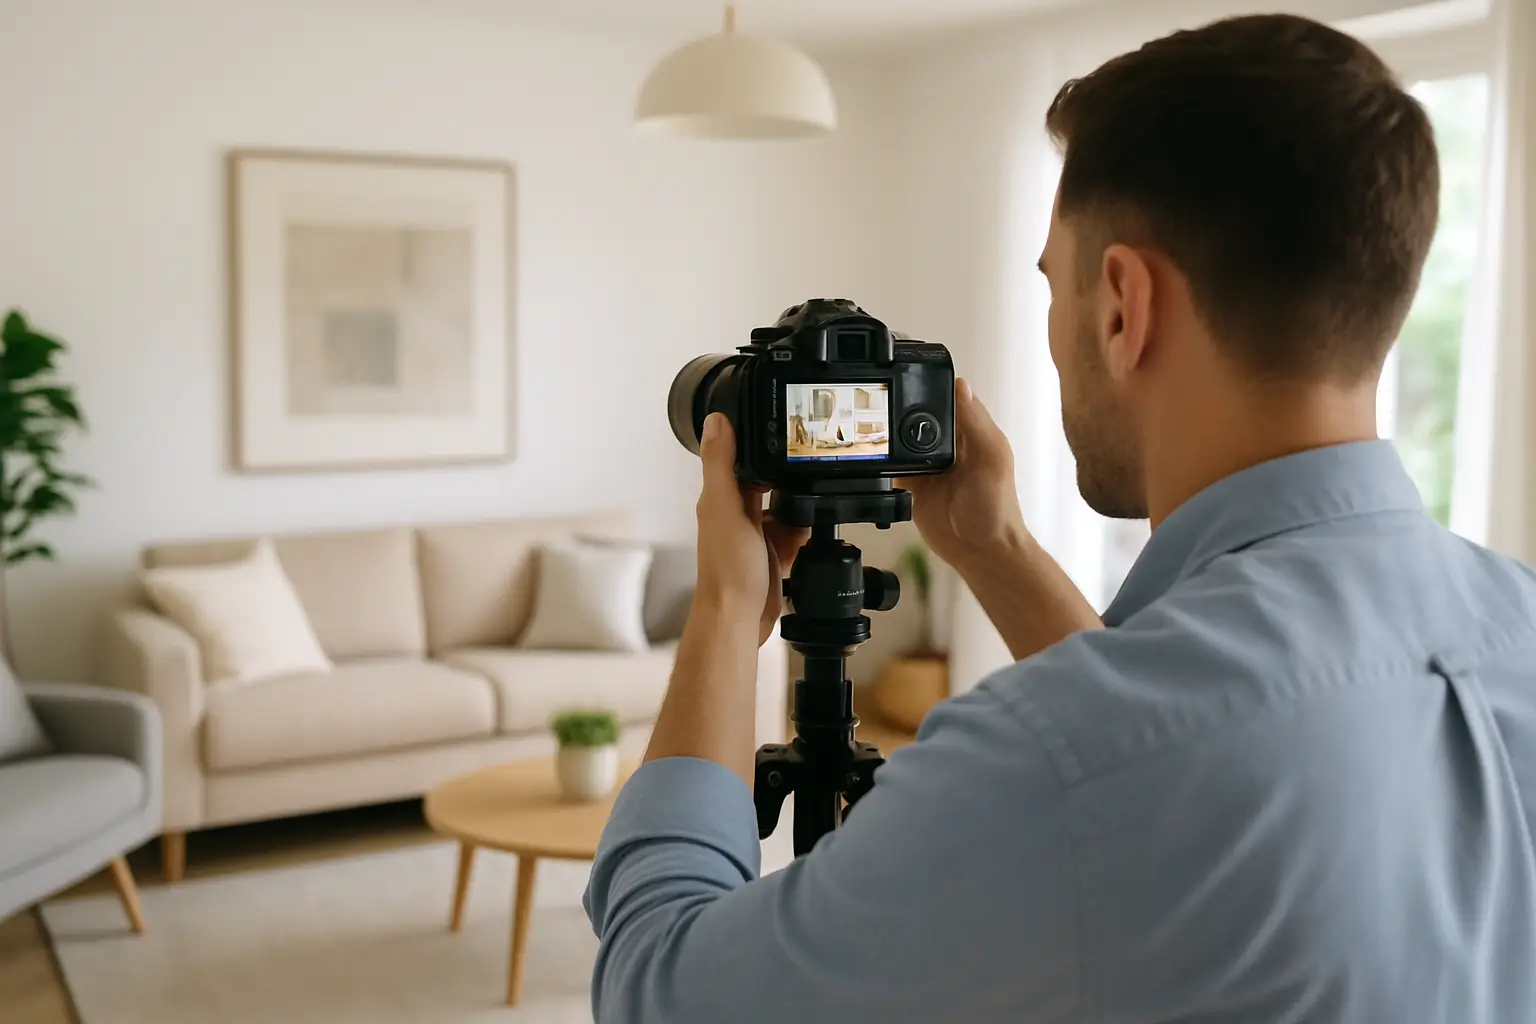
Online, buyers don’t “see potential.” They see a thumbnail.
If your listing photo looks dim, busy, or half-finished, they scroll. If it looks clean, bright, and easy to imagine living in, they click – and clicks turn into showings.
This is the real job of prep. It’s not about making a house feel staged for a magazine. It’s about removing the handful of visual distractions that kill attention, flatten rooms, and make buyers question condition. Here’s how to prepare house for real estate photos in a way that protects your seller’s time and gives you a smoother shoot day.
Start with the goal: clean lines, clear space, consistent light
The best real estate images do three things fast: they show layout, they show light, and they show condition. Your prep should support those outcomes.
That means less visual noise, fewer personal items, and rooms that read as larger and brighter. It also means consistency. A home can be “clean,” but if one room is warm yellow light and the next is cool blue light, the set feels off. If one bed is perfectly made but the nightstands are crowded, the room still looks cluttered.
The trade-off is time. Sellers can absolutely over-prep and burn a weekend trying to perfect details no one will notice. Focus on what photographs badly: clutter, mixed lighting, and anything that signals unfinished maintenance.
The 24-hour plan (what actually moves the needle)
If you have one day to get a property camera-ready, prioritize in this order: declutter surfaces, deep clean the “shine zones,” simplify furniture, then set lighting.
Decluttering is your multiplier. Clear counters, clear floors, clear corners. The camera finds piles faster than the human eye, especially near entryways, kitchen counters, and bedside tables.
Deep cleaning matters most where light reflects. Windows, mirrors, stainless steel, glossy cabinets, and dark appliances show every streak. A quick pass on baseboards and switch plates is also worth it because close-angle shots in kitchens and baths pick up grime.
Furniture simplification is the quiet hero. If a room feels tight in real life, it will feel tighter in photos. Removing one chair, one side table, or one oversized ottoman can open the sightlines that make a room read as usable.
Lighting is last because it depends on everything else. Once rooms are cleared and staged, you can decide which lamps to keep on, which bulbs to swap, and which window treatments to open.
Entry and curb appeal: make the first frame easy
Your exterior hero shots and the first interior image set the tone for the entire listing. Buyers decide in seconds whether the home feels cared for.
Outside, think “clean edges.” Move trash bins out of sight, coil hoses, and remove temporary items like kiddie pools, pet crates, or yard tools. Sweep porches and blow off walkways. If the driveway has oil stains, a quick degreaser can help – but don’t start a pressure-washing marathon the day before if it risks leaving puddles or mud.
Inside at the entry, clear the landing zone. Shoes, backpacks, keys, and mail are normal life, but they signal chaos in a photo. A single neutral mat and one intentional décor item is plenty.
Living spaces: reduce the room to its purpose
For living rooms and dens, the question is simple: does this room read as “sit here” or does it read as “storage?”
Remove extra throws, stacks of magazines, and anything tucked beside the sofa. Hide pet beds if you can, or at least relocate them out of the main angle. Cords are another easy win – push them behind furniture so the room looks finished.
If you have a lot of furniture, don’t be afraid to move one or two pieces into a garage corner temporarily. The goal is not emptiness. The goal is clean pathways and visible floor space so buyers can judge size.
If there’s a fireplace, clear the mantel down to one or two simple items. In photos, busy mantels become the focal point for the wrong reason.
Kitchen: clear counters and control reflections
Kitchens sell homes, and kitchens also collect stuff. Your baseline is simple: almost nothing on the counters.
Leave out one “intentional” item if you want – like a bowl of fruit or a coffee maker – but avoid clusters. Knife blocks, spice racks, paper towel towers, and dish drying racks are the common offenders.
Then go after the reflective surfaces. Stainless appliances, microwave doors, and polished faucets show fingerprints instantly. Wipe them right before the shoot window, not the night before.
Check the sink. Empty it completely, including soap bottles and sponges. In photos, a sink full of “clean” dishes still reads as work.
Finally, watch for visual clutter on the fridge. Kids’ art and magnets are charming in real life, but they pull attention from the room.
Dining areas: set the scale, not the table
A full place setting looks staged, and it can also feel dated depending on style. For most listings, a clean table with a simple centerpiece photographs best.
Make sure chairs are evenly spaced and pushed in. If the dining space is also used as an office, remove the laptop, chargers, paper stacks, and rolling chair. If you can’t, consider relocating the office setup to a bedroom corner for the shoot.
Bedrooms: make it hotel-simple
Bedrooms are where prep either looks effortless or painfully personal.
Start by stripping personal identity from the frame: family photos, name signs, piles of clothes, and overflowing laundry baskets. Then make the bed tightly, with minimal pillows. Nightstands should be close to empty – one lamp is fine, one small décor piece is fine, and everything else should go.
Closet doors are a “depends” item. Some photographers shoot with closet doors closed, some will include a closet if it’s a selling point. Either way, don’t assume it won’t be seen. If a closet is packed to the ceiling, buyers read “not enough storage.” If it’s reasonably organized with some breathing room, it reads as a functional closet.
Bathrooms: remove every small item you can
Bathrooms photograph best when they feel like a model home. That’s hard to do if the counters are full of toothbrushes, razors, makeup bags, and soaps.
Clear the counter completely except for one clean hand soap if you need it. Pull shower items out of the tub: shampoos, loofahs, kids’ toys. Replace worn shower curtains and bath mats if they look tired. Close the toilet lid. Hang fresh, neutral towels.
Mirrors and glass are critical here. A streaked mirror will show up. So will water spots on the faucet.
Home office, bonus rooms, and “flex” spaces: pick one story
Flex spaces sell when they’re decisive. A room that’s half gym, half storage, half office confuses buyers.
Choose the highest-value use for your market and show that. If it’s an office, clear the floor, hide the clutter, and keep the desktop simple. If it’s a playroom, reduce toys to a few neat bins and remove anything loud or broken. If it’s a home gym, tidy the weights and remove random storage shelves.
The trade-off: sometimes the seller really uses the space in multiple ways. That’s fine. For photos, the room needs one clear purpose so buyers understand it instantly.
Floors and windows: the two “silent” upgrades
Floors and windows do more for perceived value than most sellers realize.
Vacuum lines and freshly mopped hard floors make rooms feel maintained and bright. If there are rugs, straighten them and make sure corners aren’t curled.
Windows should be cleaned inside if possible, especially on high-end listings or homes with great views. Open blinds evenly and remove any heavy, dated curtains if they block light. Natural light is one of the biggest drivers of click-worthy images, but only if it’s allowed into the room.
Lighting: make it consistent room to room
Mixed bulb colors are a top reason a photo set feels “off.” Walk the house and check every light source. If the living room is warm and the kitchen is cool, the photos will look inconsistent.
Aim for matching color temperature and similar brightness across bulbs in the main living areas. Replace burned-out bulbs. Turn on lights that add warmth, but avoid turning on lights that create harsh hotspots or weird color casts.
Also check ceiling fans. If they’re on, they can blur in photos. If they’re off, make sure blades are clean.
The last 15 minutes before the camera
Right before photography starts, do a quick “eye-level sweep” and a quick “camera-level sweep.” Eye-level is what a person notices. Camera-level is what shows in a wide shot.
Pick up floor clutter, straighten rugs, hide trash cans, and remove fresh cleaning supplies from under sinks and corners. Open blinds evenly. Turn on the agreed lights. Park cars away from the front if possible and keep garage doors closed unless you’re intentionally showcasing a clean garage.
If the seller has pets, plan for them. Put bowls, litter boxes, and crates out of view. A pet can stay, but pet gear in every room reads as clutter.
Timing and expectations: what you can control
Prep is about control. You can control clutter, cleanliness, and light. You cannot always control weather, landscaping that’s out of season, or a seller who is still mid-move.
If a home is occupied and actively lived in, set a realistic standard: the home should look calm, not empty. If a home is vacant, watch for the opposite problem – dust, scuffs, and echo-y rooms that feel cold. Sometimes a small amount of staging or virtual staging makes the layout easier to understand.
And if you’re bundling media like photos, drone, or a 3D tour, prep matters even more because the camera sees more angles and more rooms. A quick check-in with your media partner about what will be captured can save you a reshoot.
When you want a repeatable process and predictable results, that’s exactly why agents work with Villa Views – clean workflow, fast turnaround, and listing media built to earn attention.
A well-prepped home doesn’t just photograph better. It sells your client’s story faster, with fewer objections, and it makes your marketing look like you run a tight operation – because you do.
Why photo prep is a pricing strategy (not busywork)
Buyers build a story from the photos. If the story is “tight on storage,” “dated,” or “needs work,” they’ll either skip the showing or show up already negotiating. Prep helps photos communicate what you actually want the market to feel: space, light, cleanliness, and care.
There is a trade-off. Over-prepping can make a home feel sterile or misleading, especially if it removes all personality and warmth. Under-prepping makes the home feel smaller and lower value than it is. The goal is simple: remove distractions so the buyer’s eye lands on layout, finishes, and natural light.
Listing photos that sell homes faster.
Professional real estate media with 24-hour delivery across Waynesboro, Staunton, and the Shenandoah Valley.
Book a Shoot